Expert Tips for Safely Removing White Zinc Plated Drywall Screws Without Damage
Expert Tips for Safely Removing White Zinc Plated Drywall Screws Without Damage
Table of Contents
- Understanding White Zinc Plated Drywall Screws
- Essential Tools Needed for Removal
- Step-by-Step Guide to Removing Drywall Screws
- Techniques to Prevent Damage to Your Drywall
- Dealing with Stripped Screws: Solutions and Tips
- Repairing Damaged Drywall After Screw Removal
- Safety Precautions While Removing Screws
- Frequently Asked Questions
Understanding White Zinc Plated Drywall Screws
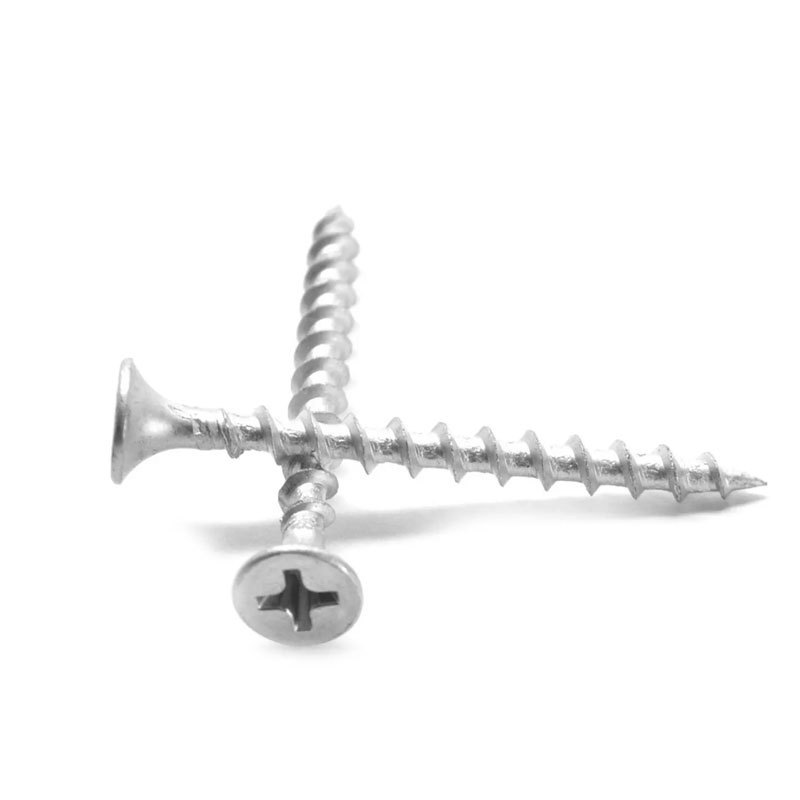
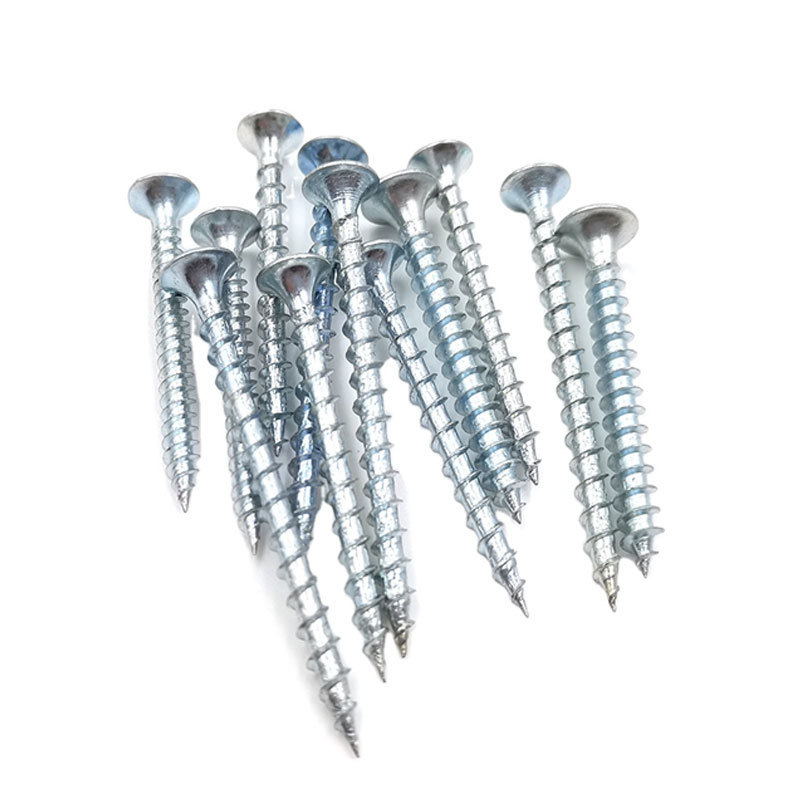
White zinc plated drywall screws are a popular choice in the construction and renovation industries. Known for their corrosion resistance, they offer durability and longevity in many applications. Understanding their design and function is crucial for effective removal without causing any damage.
These screws typically feature a sharp point and threads that grip tightly into the drywall, ensuring a secure hold. While their benefits are numerous, they pose a bit of a challenge when it's time to remove them. It's essential to approach the removal process with care, especially to avoid damaging the surrounding drywall or creating larger issues.
Essential Tools Needed for Removal
Before diving into the removal process, gather all the necessary tools to make the task easier and more efficient. Here’s a list of essential tools you’ll need:
1. Screwdriver or Drill
A high-quality screwdriver or drill equipped with the appropriate head (typically a Phillips or square head) is essential for removing drywall screws. Choose a power screwdriver if you’re dealing with a large number of screws.
2. Pliers
Pliers will be beneficial for gripping screws that are stuck or difficult to turn. A set of needle-nose pliers can help reach into tight spaces without damaging the surrounding drywall.
3. Putty Knife
A putty knife can assist in prying away any stubborn screws or in removing excess material around the screw heads.
4. Vacuum Cleaner
Keeping the workspace clean is vital. Use a vacuum cleaner to remove any dust or debris that may accumulate during the process.
5. Protective Gear
Safety goggles and gloves should be worn to prevent injury during the removal process. This is especially important when working in potentially hazardous environments.
Step-by-Step Guide to Removing Drywall Screws
Now that you have your tools ready, follow these steps to successfully remove white zinc plated drywall screws without causing damage:
Step 1: Inspect the Screws
Before starting, take a moment to inspect the screws and their condition. Are they stripped, rusty, or embedded too deep? This assessment will inform your approach.
Step 2: Choose the Right Tool
Select the appropriate screwdriver or drill attachment based on the screw type. Using the wrong size can lead to stripping, making removal more difficult.
Step 3: Apply Pressure
Using your screwdriver or drill, apply even pressure while turning the screw counterclockwise. If the screw resists, do not force it; this can lead to damage.
Step 4: Use Pliers for Stubborn Screws
If a screw won't budge, try using pliers. Grip the head of the screw firmly and twist it gently. If needed, apply a little back-and-forth motion to break the seal created by the drywall.
Step 5: Use a Putty Knife to Assist
If the screw is still stuck, insert a putty knife underneath the head of the screw and gently pry it upward while turning. This can help loosen it from the drywall.
Step 6: Clean Up
Once the screws are removed, use your vacuum cleaner to clean up any dust or debris. This will prepare your workspace for any necessary repairs.
Techniques to Prevent Damage to Your Drywall
Preventing damage while removing drywall screws is crucial for maintaining a clean and professional finish. Here are some techniques to keep in mind:
1. Carefully Assess the Screw Quality
Before attempting removal, always check the screw's condition. If it appears rusted or stripped, be extra cautious to avoid breaking it off in the drywall.
2. Use the Correct Size Tool
Using the right tool for the job not only makes the removal process easier but also reduces the risk of slipping and damaging the drywall.
3. Go Slow and Steady
Rushing can lead to errors. Take your time with each screw to ensure a smooth removal process. If you encounter resistance, stop and reassess before proceeding.
4. Opt for Lubrication
In cases where screws are particularly stubborn, applying a bit of penetrating oil can help. Allow the oil to sit for a few minutes before attempting removal again.
Dealing with Stripped Screws: Solutions and Tips
Stripped screws can be a nightmare during removal. However, there are effective methods to deal with this issue:
1. Rubber Band Method
Place a rubber band over the stripped head of the screw, and then insert your screwdriver. The rubber will provide extra grip, allowing you to turn the screw.
2. Use a Screw Extractor
A screw extractor is a specialized tool designed to remove stripped screws. Drill a small hole into the top of the screw, then insert the extractor and turn counterclockwise.
3. Create a New Slot
If the screw head is too damaged, use a Dremel or similar tool to create a new slot in the screw head. This will allow you to use a flat-head screwdriver to turn it out.
Repairing Damaged Drywall After Screw Removal
After successfully removing drywall screws, there may be minor damage to the wall. Here’s how to repair it effectively:
1. Assess the Damage
Evaluate the extent of the damage. Small holes may only need spackling, while larger ones may require a patch.
2. Spackle Small Holes
For small holes, apply spackling compound using a putty knife. Smooth it over, and allow it to dry before sanding it down to a flush finish.
3. Patch Larger Holes
For larger damage, cut a piece of drywall to fit the hole and secure it with drywall adhesive. Then, tape the seams and apply joint compound.
4. Sand and Paint
Once the repair is dry, sand the area smoothly and repaint to match the surrounding wall. This will ensure a seamless finish.
Safety Precautions While Removing Screws
Safety should always be a priority during any home improvement project. Here are some essential safety precautions to keep in mind:
1. Wear Protective Gear
Always wear safety goggles and gloves to protect yourself from flying debris and sharp edges.
2. Ensure Adequate Lighting
Make sure your workspace is well-lit to clearly see what you're doing and avoid accidents.
3. Work in a Stable Position
Ensure you’re on a stable surface while working, especially if using ladders or scaffolding.
4. Keep a First-Aid Kit Handy
Accidents can happen. Always have a first-aid kit nearby in case of minor injuries.
Frequently Asked Questions
1. What are white zinc plated drywall screws made of?
White zinc plated drywall screws are typically made of carbon steel and coated with zinc to enhance corrosion resistance.
2. Can I reuse drywall screws?
While it's possible to reuse drywall screws, it’s generally not recommended. The threads may be worn down, making them less effective in securing material.
3. What should I do if a screw breaks off in the wall?
If a screw breaks off in the wall, you may need to use a screw extractor or drill it out carefully. Be cautious to avoid damaging the surrounding drywall.
4. How do I know if a screw is stripped?
A stripped screw will not turn easily when you apply pressure with your tool, and you may notice that the head is rounded or damaged.
5. Is it necessary to repair drywall after screw removal?
Yes, repairing drywall after screw removal is important for maintaining the integrity and appearance of your walls. Small holes can lead to larger issues if not attended to.
Conclusion
Removing white zinc plated drywall screws doesn’t have to be a daunting task. By following these expert tips and utilizing the right tools and techniques, you can ensure a smooth and damage-free removal process. Always prioritize safety and take the time to assess and repair any drywall that may be affected. With practice and patience, you’ll master the art of screw removal and maintain the quality of your drywall installations. Happy DIYing!
TAG:
Next
Related Posts
Understanding White Zinc Plated Drywall Screws: Essential Insights for Industrial Applications


